
Introduction
In the previous articles, we always uploaded the game to uSVC directly. While this is useful when developing a game, it is quite unpractical for a game console.
In this brief article we are going to explain how to use the uChip game map editor to create an uSVC game file, which can be put in the SD Card, and run using the game loader.
Prerequisites
We assume that you already have developed a game or a demo, you already debugged it, and you want now to put in the SD-Card, so that you can choose it with the game loader.
Furthermore, if you haven’t done it yet, you must download the uChip Game Loader project in Atmel/Microchip Studio. You can find it in the uSVC/software/uSVC_GameLoader directory, after you download and unzip the uSVC repository https://github.com/next-hack/uSVC/archive/refs/heads/master.zip.
After you open the game loader solution, you just need to build it in debug mode and put it to uSVC as explained here https://next-hack.com/index.php/2020/11/07/setting-up-atmel-studio-for-usvc/ (see section “Uploading games in debug mode to uSVC”).
Next, you have to open your game/demo project. This time build (but do not program uChip!) in release mode. Why? The “release” build configuration defines the symbol “USE_BOOTLOADER”. This has the side effect of placing the start address of your game at 0x6000, instead of 0x2000. Another side effect is that the game (unless forced by other configuration switches in usvc_config.h) will use the bootloader USB and FATFs libraries, saving about 10kB of code or more.
CREATING THE USC FILE
When you have built your game in release mode, a “Release” directory will be created. There you will find several files, but the one you are interested in is that having extension .bin. This is the actual code of your game.
Create a directory somewhere (e.g. C:\MyGame), and copy there the binary file you found before. For your convenience, rename it to binary.bin. The reason of this will be clear soon.
Next you have to create a text file, which simply describes your work. The meta file consists of a sequence of lines, as shown below:
SHORT TITLE (15 characters)
LONG TITLE ROW 1 (15 characters)
LONG TITLE ROW 2 (15 characters)
LONG TITLE ROW 3 (15 characters)
LONG TITLE ROW 4 (15 characters)
DESCRIPTION ROW 1 (15 characters)
DESCRIPTION ROW 2 (15 characters)
DESCRIPTION ROW 3 (15 characters)
DESCRIPTION ROW 4 (15 characters)
AUTHOR ROW 1 (15 characters)
AUTHOR ROW 2 (15 characters)
DATE (8 characters)
VERSION (5 characters)
For instance, if you are John Smith, and create a fantastic new game named “Game” then your meta file would be something like:
Game
A
fantastic
new
game!
This
is my
first
game!
John
Smith
01-01-2021
V1.00
In your game you might not even require all the rows. If for instance you need only 3 rows for the game long title, then you must leave a blank line.
After you are happy with the entries in the text files, save it in the same directory where you put binary.bin, and name it meta.txt.
Finally, you need a 256-color png image (using uSVC palette, get it here!), with a 96 x 72 resolution. This will be the image that appears when you select your game in the game-loader. The image should be descriptive of your game. Once you are done, save it as image.png, in the same directory as the meta.txt and binary.bin files.
After you have created everything, you need to open the uChip Game Map Editor, and from the “Utilities” menu, choose “Create USVC Game file”.
The following window will appear:
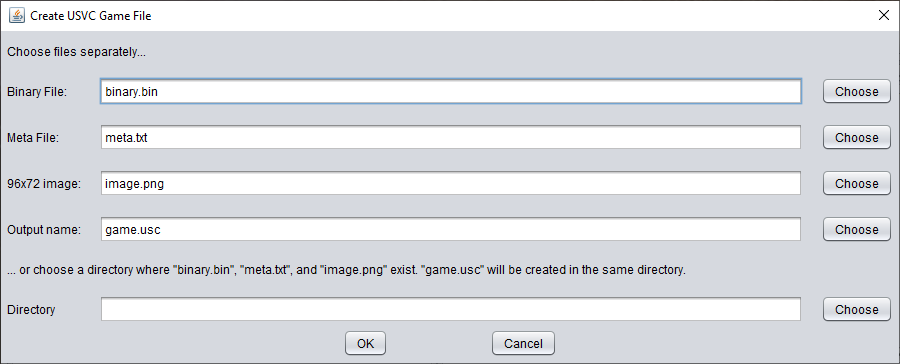
You can either select each file manually, or simply point to the directory (Suggested) where you saved the image, meta and binary files
After you confirm, in the same directory the game.usc file will be created. This is the file you need to put in the SD card. Of course, you need to change the name “game” to something else (maximum length: 8 chars!), but keep the .usc extension, otherwise the file will not be listed.
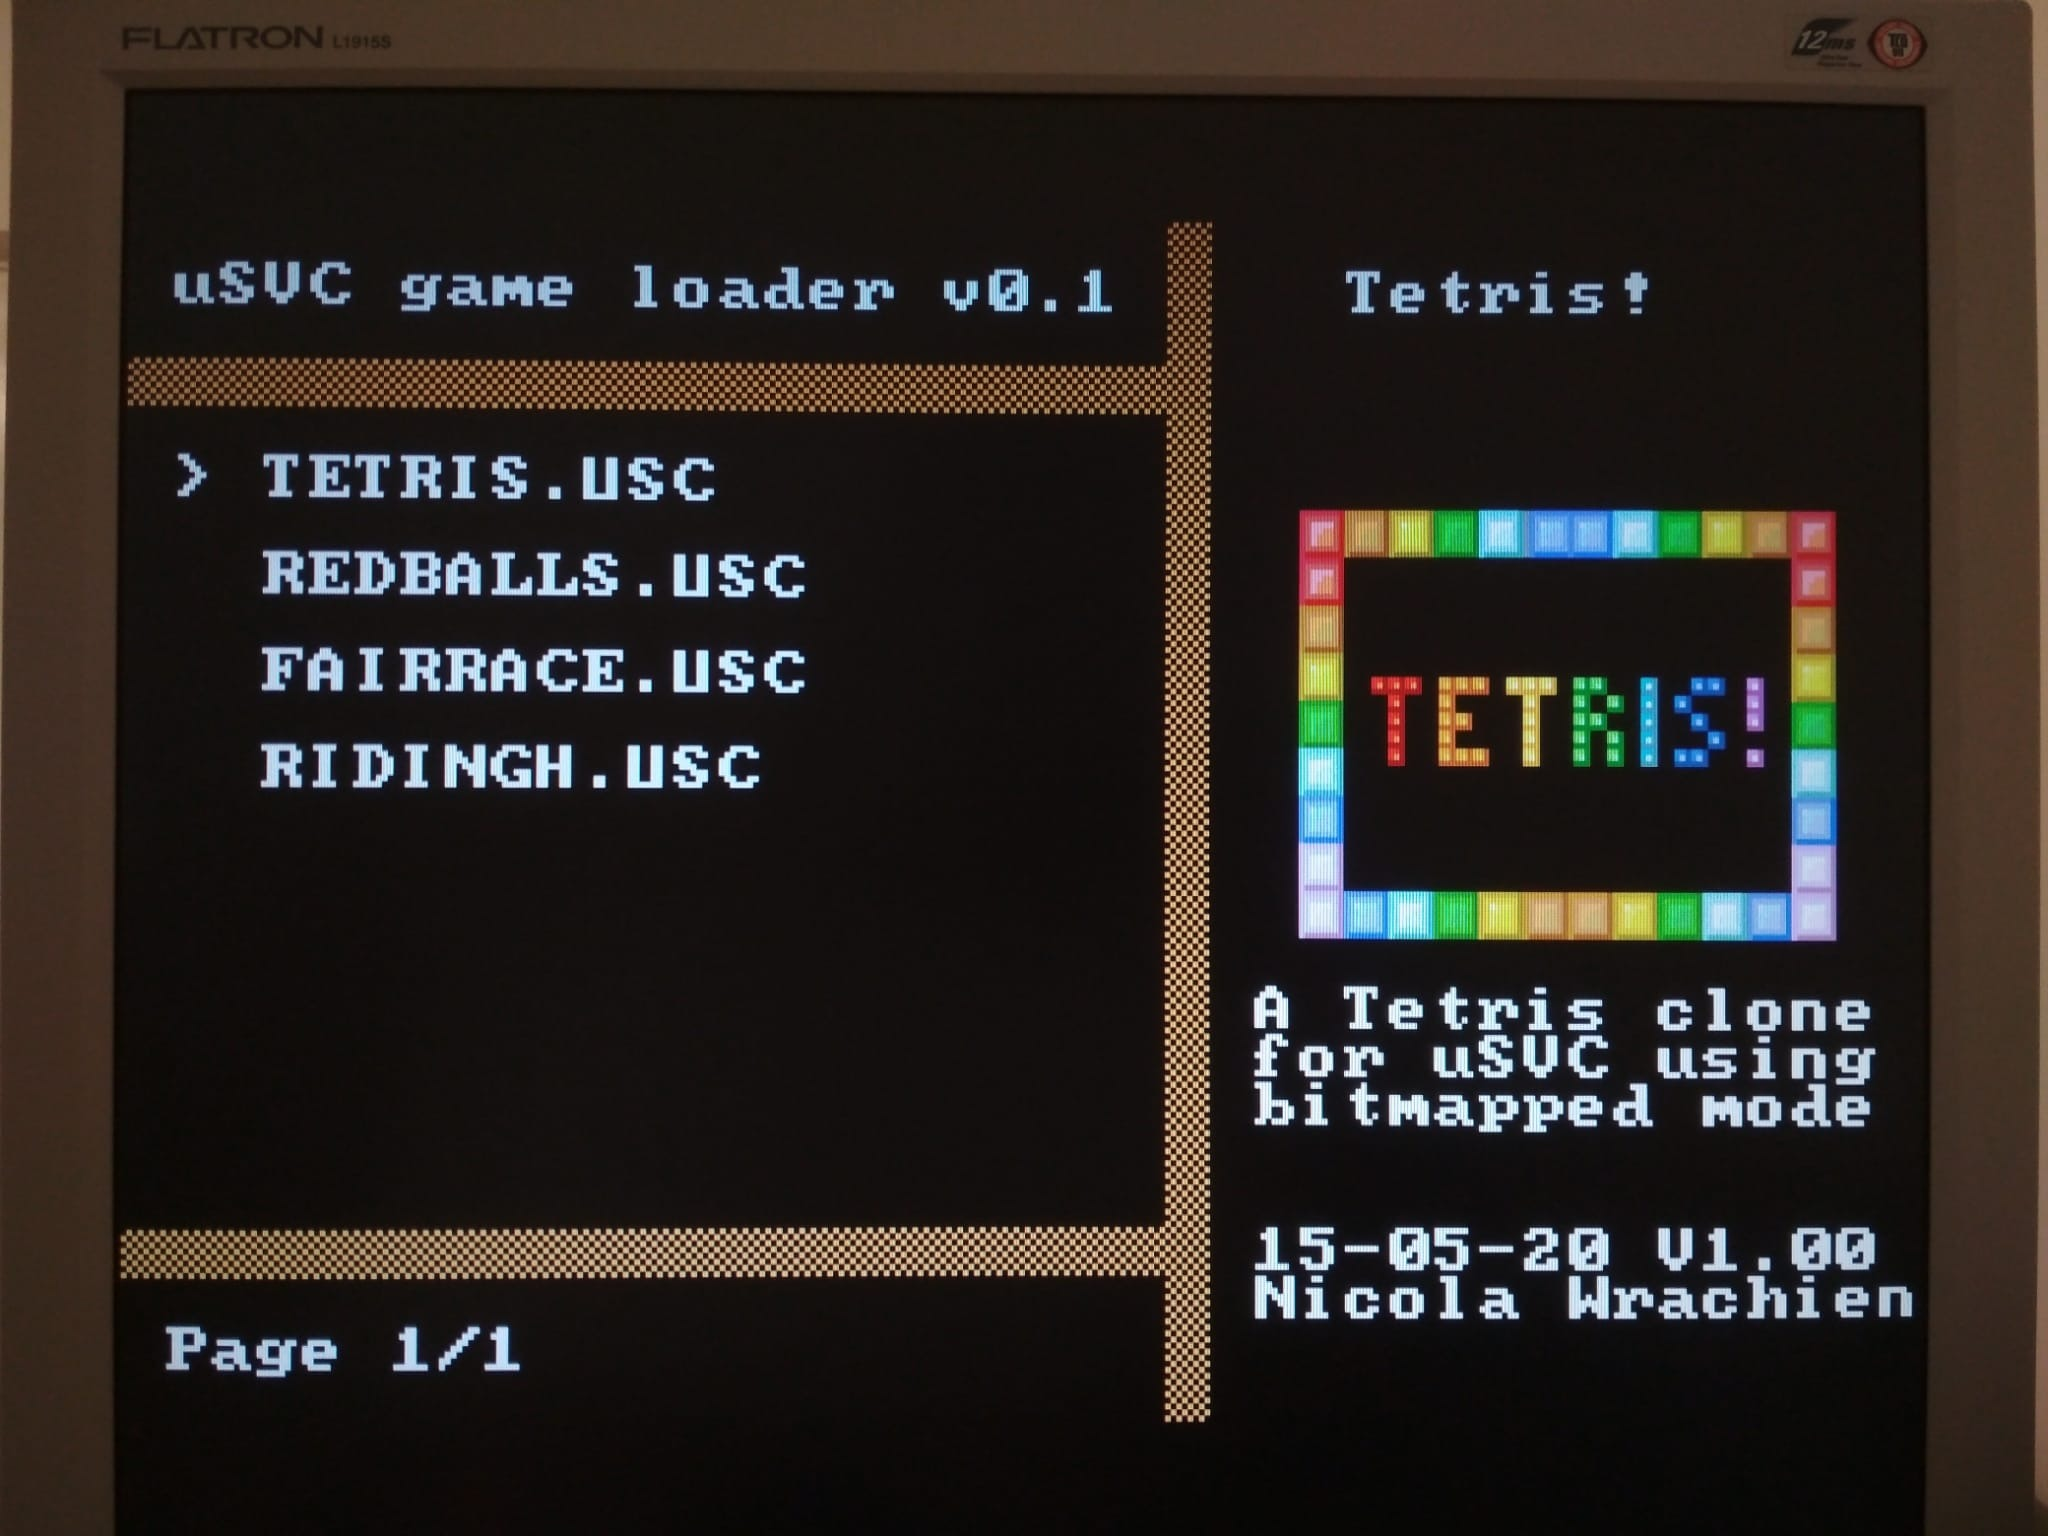
If everything went well, if you put the SD card in the uSVC, and reboot, you should see your game listed! Use the keyboard/gamepad to select it and the data you entered will appear in the right pane. By pressing the enter key (or any gamepad button), the game will be copied to flash, and after this, it will launch.
Conclusion
Now you are set! You can create games and send to your friends, without having them to compile everytime!