
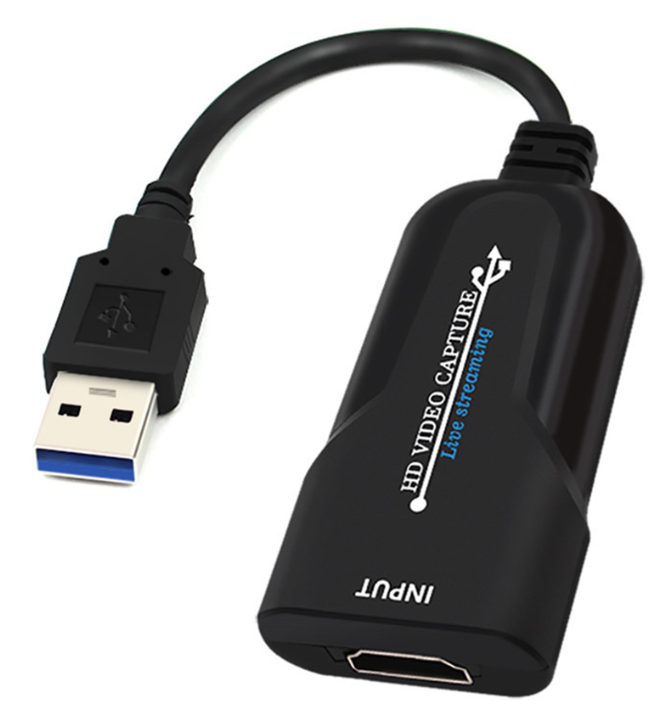
If you ever had the necessity to capture HDMI to USB, you’ll know that nowadays there are cheap HDMI to USB capture dongles available in Amazon, Aliexpress or Ebay, that allow to record your HDMI stream to your PC, using OBS or even VLC. Be aware that most of these dongles are advertised as USB 3.0, but instead they are USB 2.0 only, so forget about 1080p @60Hz. Still, USB 2.0 is enough for some applications. These cards are sold under 15$, so, despite they are USB 2.0, they are worth a try.
However, if you need to capture a VGA signal (like we did, to capture uSVC images), the situation is completely different. There are some VGA to USB dongles, or other VGA capture cards, but these are overly expensive, well above 100$ (sometimes above 200$) and some of them have a noticeable lag between input and output.
This article is different from the ones we used to write: in this hack, we won’t create anything from scratch, but instead, we will show a simple trick that allows you to reduce the cost of your VGA acquisition system by a factor 5 at least. Furthermore, you’ll get a more versatile equipment.
A very simple hack
We already wrote that you can find cheap HDMI to USB capture cards (note! HDMI -> USB, not the opposite, which is useless for this hack!). The trick is simple: buy one of these adapters, and also buy a VGA to HDMI adapter (note: VGA -> HDMI, not the opposite, which is useless for this hack!). You’ll also need to get an HDMI cable too (of whatever length) if you don’t have one spare.
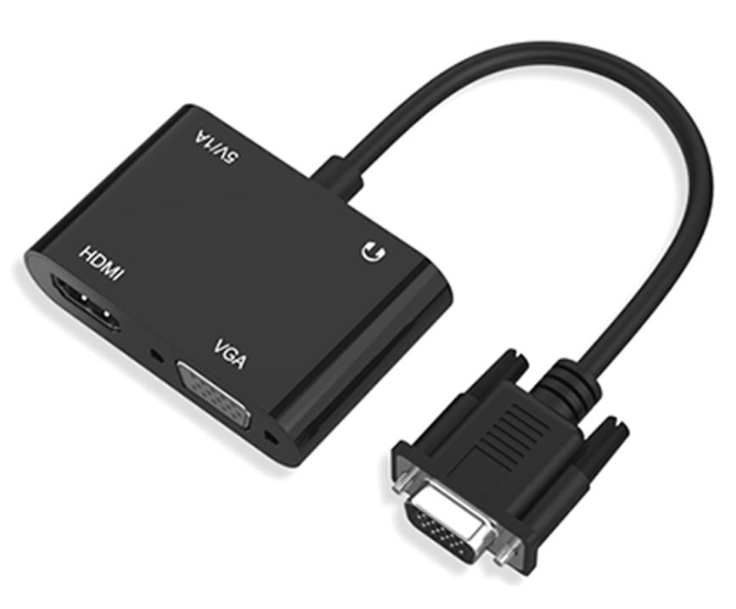
There are many VGA to HDMI adapters, but if you can afford some 8$ extra, we recommend buying one that also has an additional VGA output. It is always useful to see in an actual monitor what you are recording, without having to check the recording software window on the PC screen.
Therefore, instead of having to purchase a VGA capture device (which can only do just that job), you need to buy:
- The HDMI to USB capture dongle – about 13$
- An HDMI cable (if you don’t have it already) – about 1$
- A VGA to HDMI converter – about 3$. We bought this one, which is more expensive but it has an additional VGA output, if you want to connect a monitor too. – about 11$
- If you buy the cheapest VGA to HDMI converter, you might need a VGA male to male cable too like this one (about 3$).
Connecting everything
Then, just make the connection:
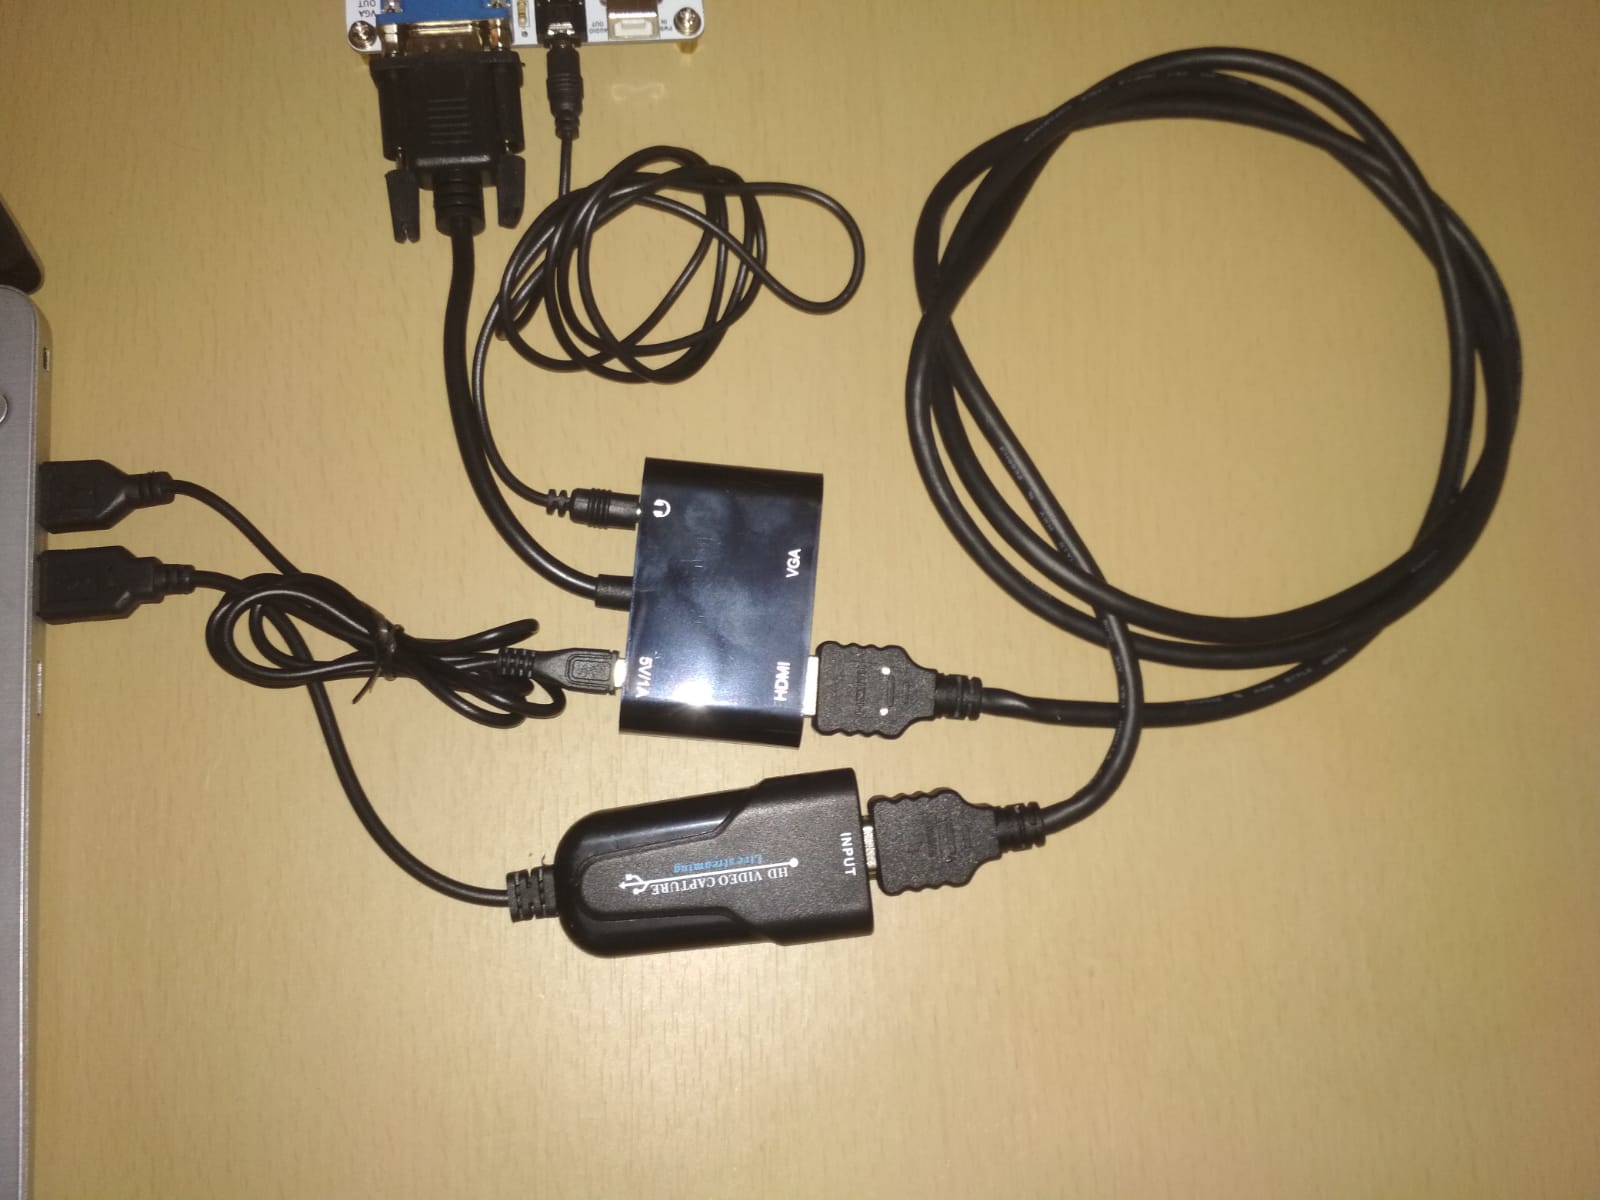
VGA OUTPUT to be recorded -> VGA TO HDMI CONVERTER -> HDMI CAPTURE CARD -> USB of your PC/MAC and you’re set.
This is our setup to capture the VGA output of our DIY VGA console. Yes, it is quite a mess of cables, but it does the job quite nicely!
Configuring OBS to Capture the Video
To capture the actual video data:
- Download and install OBS
- Connect everything as written above
- Launch OBS
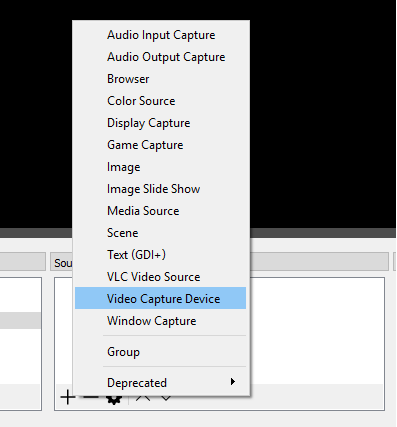
- Under “Sources”, click on “+”
- On the menu, find and select “Video capture device”
- On the “Create/Select Source” window, click on “create new”, and press OK.

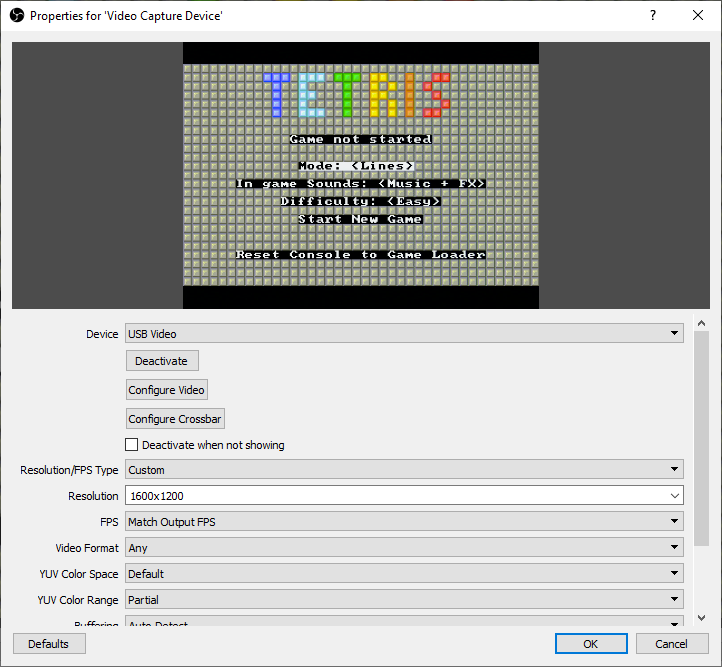
- Choose the device from the drop down list. In our case it was named “USB Video”. Also choose the resolution and FPS type. Once the parameters are configured correctly, you should already see the preview.
Final Words…
You should spend no more than 20-28$ (including shipping) for not only a system that allows you to capture a VGA signal, but also:
- Has also an HDMI capture device.
- Has also a VGA to HDMI converter.
- (if you purchase the VGA->HDMI converter with an additional VGA output) It allows to show the same image in two monitors (one VGA and one HDMI).
And what about lag? 20ms!
Not bad for 20$, isn’t it?
I’d like to see some sample video from this setup. Also, some of those ali links are down. Can you show me alternate links?
Hi! Yes, unfortunately with AliExpress links go down very quickly. We will provide new ones soon!
We have not recorded videos with it for now, but you can see some screen grabs from the article about uSVC!
I wonder also if you could instead use a simple passive vga/hdmi cable instead of that vga-hdmi converter. Or maybe this, which needs a 5v power supply: https://www.amazon.com/dp/B07121Y1Z3
Passive VGA-Hdmi cables will not work: some electronics is required to perform analog to digital conversion (+ resampling + reformatting). Instead, the one provided on your link will work!
Does OBS let you view the input on your computer, effectively letting your computer act like a dumb VGA display/monitor for the video source?
Yes, you can, for instance you can right click on the preview pane and select “Full Screen Projector (Preview)”.
Thank you! I used this setup last night as a “portable KVM crash cart,” and it worked well!
The cost was a small fraction of the price of a CV211, NOTECONS01, NOTECONS02, or KVT100A.
One minor hitch: it seems to be necessary to plug the HDMI-to-USB adapter into the same port that I used when I first installed OBS. If I plug it into a different USB port I just get a black screen in OBS.
The HDMI-to-USB and VGA-to-HDMI adapters that I got look identical to yours:
“1080P 4K HDMI to USB 3.0 Video Capture Card Game Audio Video Live Streaming”
https://www.ebay.com/itm/373465766935
(You want the USB 3.0 version, with the wire.)
Cost: $12
“2-in-1 VGA to HDMI VGA Adapter Converter Splitter HDMI&VGA out Simultaneously”
https://www.ebay.com/itm/274053984714
Cost: $17
Pay attention to the VGA resolutions supported by your VGA-to-HDMI adapter. Otherwise it might not work for your application. (I tried one that supported “VGA Resolution: 480i/576i/480p/576p/720p/1080i/1080p” and it did not support the 1280×1024 resolution that I needed.)
The pass-through VGA port feature is just about essential when first getting it all to work, because it lets you use a real monitor to see what you’re supposed to be seeing in OBS.
I also got one of those cheap, roll-up silicone USB keyboards ($8 on AliExpress), which I can carry with me in my laptop/tool bag, along with a mouse, for the “K” and “M” parts of the “KVM”.
I used such installation before I read the article. But found that there it is a lag between the cursor movement on the retro PC I used for this (Windows 98Se by the way) and what I see on the display of my modern PC. I thought that the good PCI-E card is required to remove this lag (like AVerMedia CD311 HD for example) which is not so cheap as the described equipment. After this I realized that improvement of quality always requires money 🙂 God thamn quality culture it chasing me :)))
I know this is an old post but just wanted to say thanks for keeping it up. I was finally able to find the hardware setup I needed and look for the parts on AliExpress.
Up and running with your documentation.
Thanks again